Title here
Summary here
After setting up an Academic Cloud Account , go to sync.academiccloud.de . This should open ownCloud and greet you with the important links for:
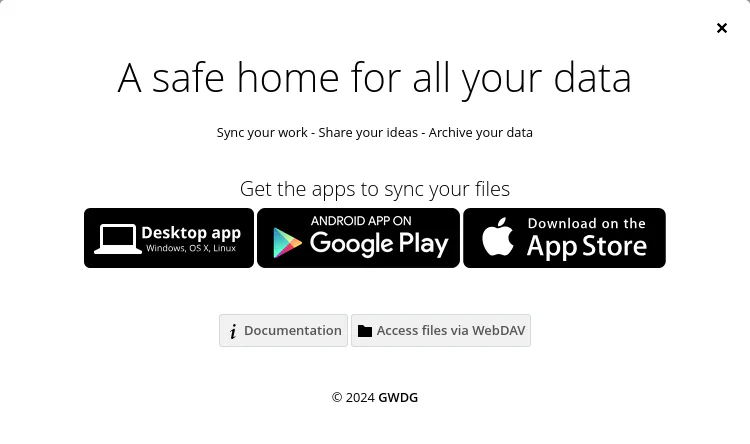
After closing this window, you should send the name/address in the upper right corner to the person managing the file shares.

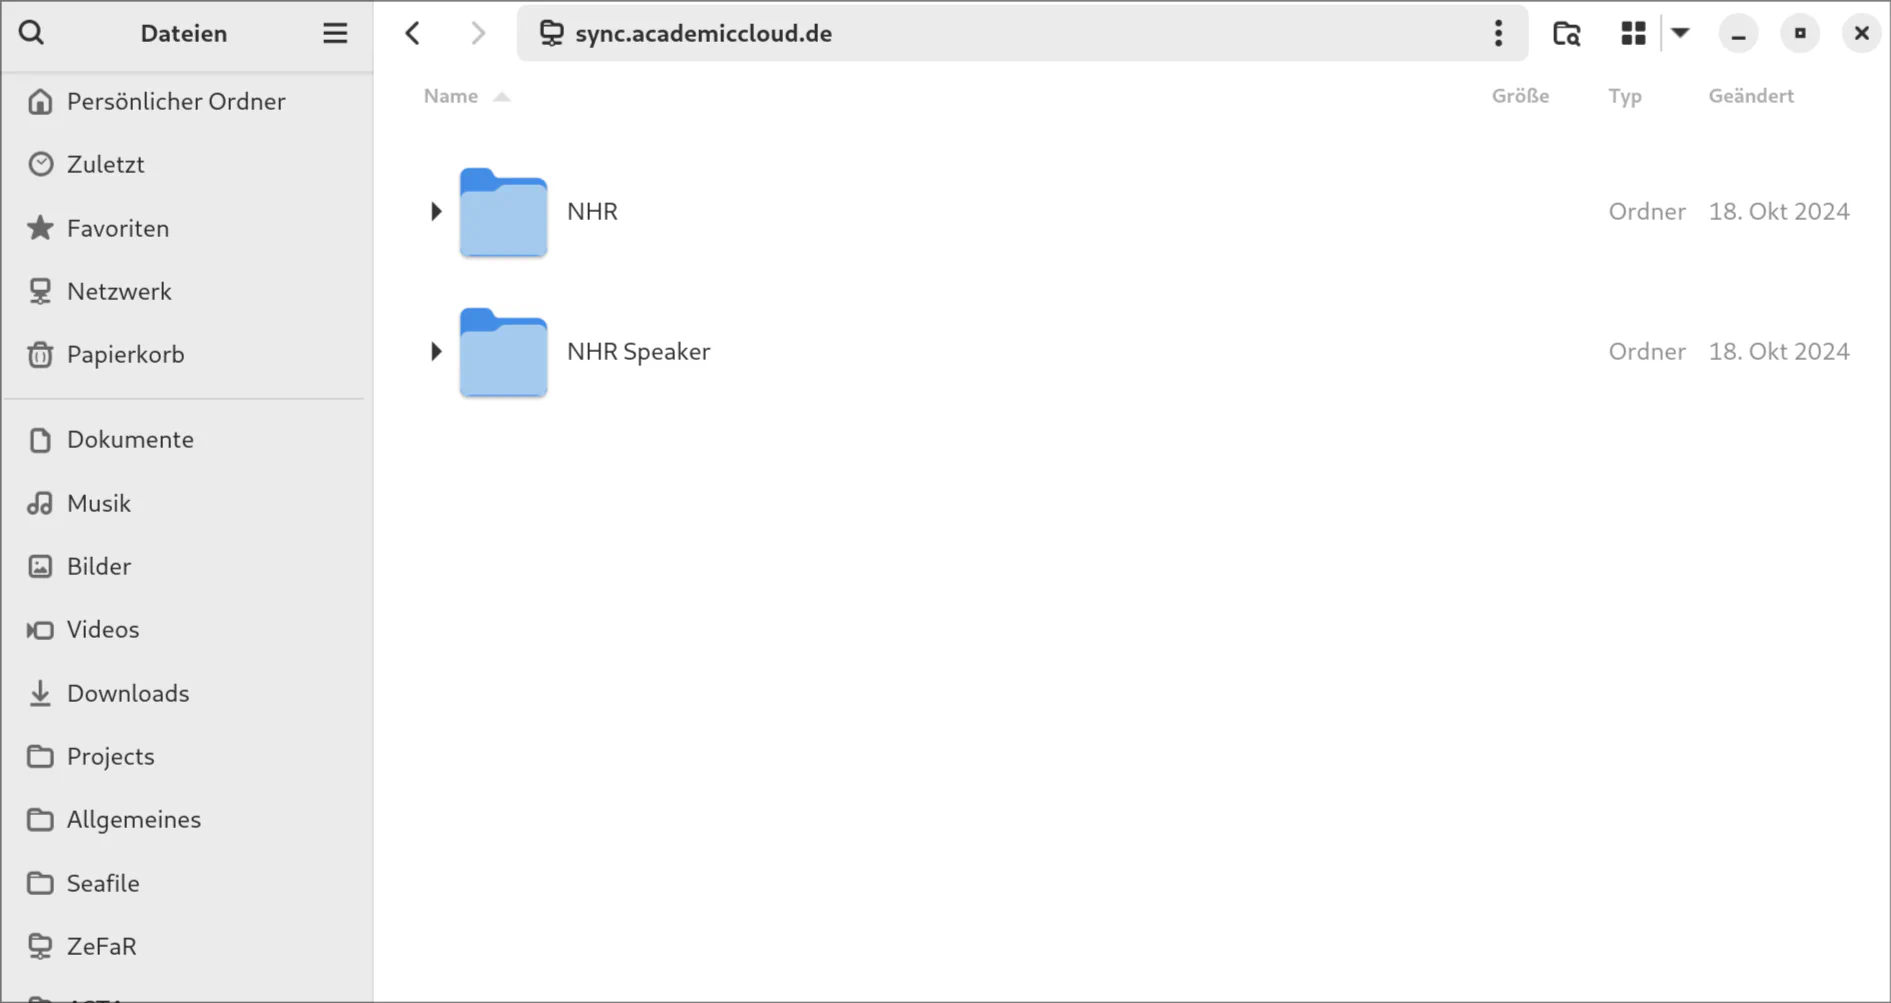
Soon, you should be added to the teams, which allows you to access the corresponding shares for NHR GradS students and speakers.
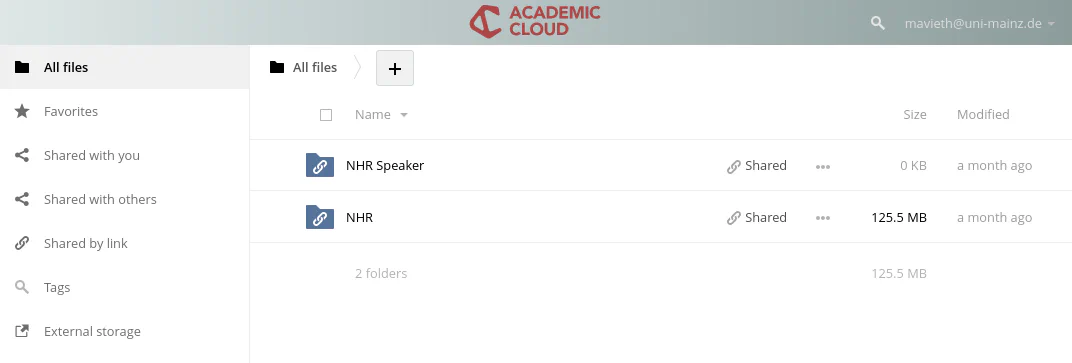
You can open shares by clicking on them, add files by clicking on the “+” and edit/open files by clicking on them.
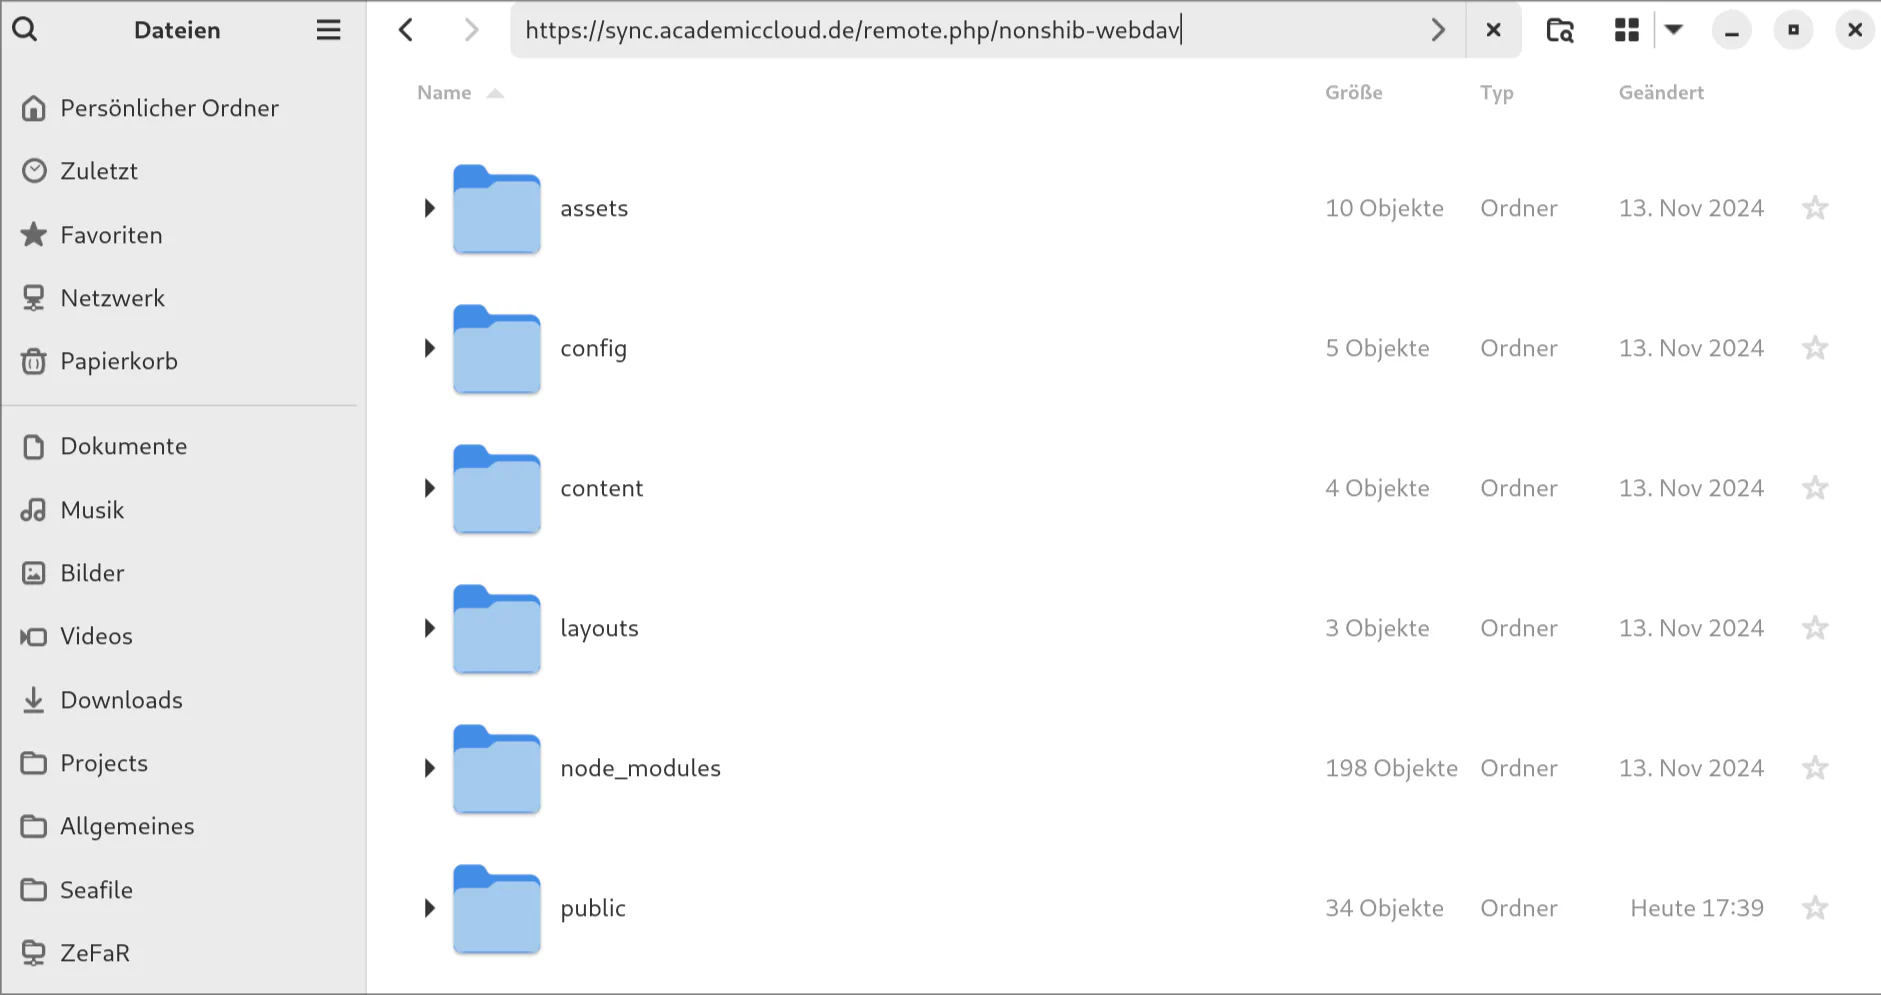
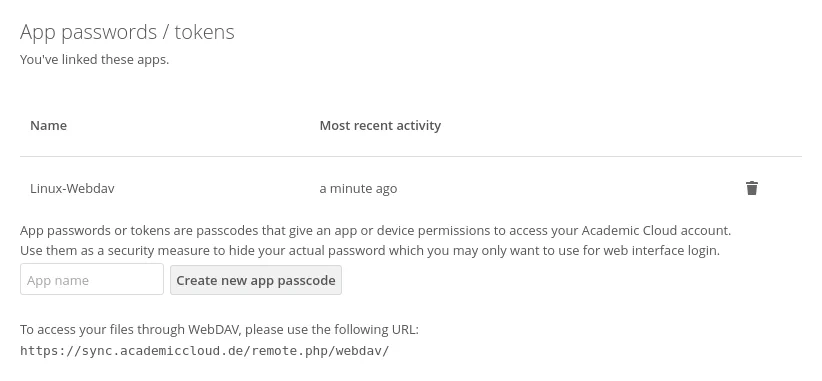
You can also access all your data by using the WebDAV interface.
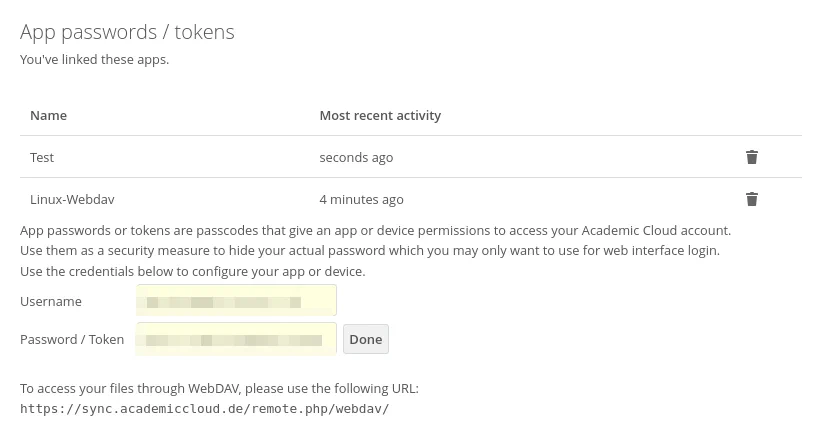
First create a password for ownCloud by visiting the security settings and add an “App password / token” by entering an “App name” and “create new app passcode”.
After that, your username and a new password will be shown. This is the only time it will be shown to you, you have to write it down now. After clicking on “Done”, your username and password will be hidden and cannot be shown again. (I recommand to use a password manager like KeePassXC ).
Now, just use
https://sync.academiccloud.de/remote.php/webdav/(or the following on some devices)
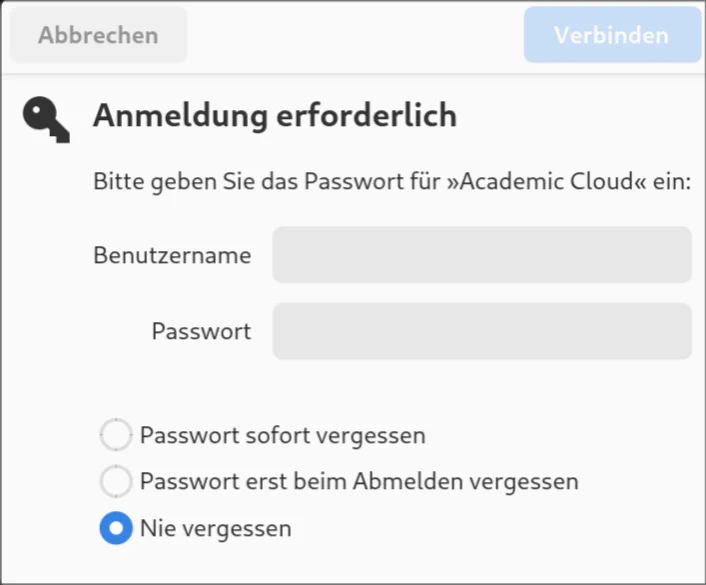
davs://sync.academiccloud.de/remote.php/webdav/in the file explorer of your choice and enter your settings, when asked for. In most cases, you can press Ctrl+L to access the address bar of your explorer, copy & paste the address and press enter, which prompts you to enter your credentials.